
GLOBAL AGROVET RESEARCH CONFERENCE
POWERED BY
ARCC JOURNALS
POWERED BY
ARCC JOURNALS

26 May 2025
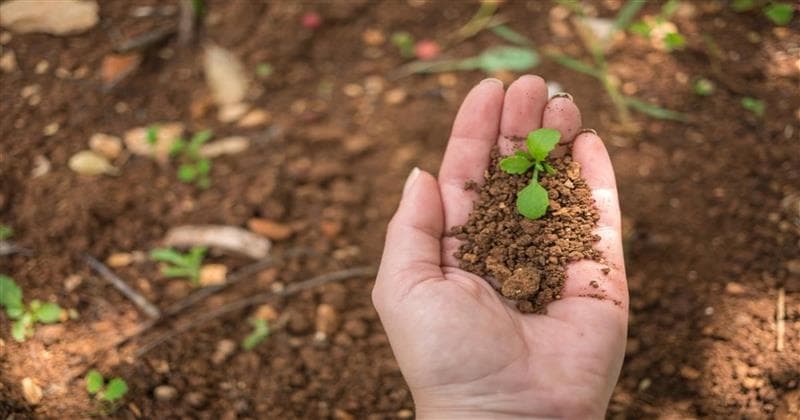
Use of Buttermilk in Gardening and Easy Methods to Test Soil Quality – Know the Causes of Soil Fertility Depletion
26 May 2025
Buttermilk is not just a nutritious drink but also highly beneficial for gardening. When used correctly, it promotes plant growth and increases the number of beneficial microorganisms in the soil. The lactic acid, probiotics, and minerals in buttermilk improve plant health and enhance soil fertility. In organic farming, it is also used as a natural fungicide and pesticide. Let’s explore how buttermilk can be effectively used in gardening.
Benefits of Using Buttermilk in Gardening:
Natural Fungicide -Buttermilk contains lactic acid, which helps eliminate harmful fungi from the soil and plants. It protects against fungal diseases such as powdery mildew and black spots.
Enhances Soil Fertility -Buttermilk is rich in nitrogen, phosphorus, potassium, and calcium, which improve soil fertility. It acts as an organic fertilizer and strengthens plant roots.
Improves Leaf Shine -Spraying a diluted buttermilk solution on leaves keeps them green and shiny.
Pest Repellent -The strong smell of buttermilk repels many insects, particularly aphids, mealybugs, and thrips.
Organic Fertilizer -The bacteria present in buttermilk promote beneficial microorganisms in the soil, allowing plant roots to absorb more nutrients.
How to Use Buttermilk in Gardening?
As a Fungicide Spray –Mix 250 ml of buttermilk in 1 liter of water and fill it in a spray bottle. Spray it on plant leaves and stems once a week to prevent fungal infections.
As an Organic Fertilizer –Mix 200 ml of buttermilk in 1 liter of water and pour it around plant roots. Using this solution 2-3 times a month promotes healthy plant growth.
As a Natural Pesticide – Mix 1 liter of buttermilk, 2 liters of water, 1 teaspoon of neem oil (or 100 grams of neem leaf extract), and 1 teaspoon of turmeric powder. Fill the mixture in a spray bottle and spray it on plants to keep pests away and maintain plant health.
How to Perform the Jar Soil Test?
Take a transparent glass or plastic jar and collect soil from a depth of 3 feet.
Remove pebbles, roots, and dried leaves, and fill 1/4 to 1/2 of the jar with soil.
Add water until the jar is almost full and mix in a few drops of liquid soap.
Seal the jar tightly and shake it for two minutes.
Jar Soil Test: A Simple Way to Assess Soil Composition:
To evaluate soil quality, the Jar Soil Test is an easy and effective method. This test helps determine the proportions of sand, silt, and clay in the soil.
Let it sit undisturbed:
Sand will settle at the bottom within 1-2 minutes.
Silt will settle on top of the sand within 30 minutes.
Clay will form the topmost layer within 24 hours.
Measure the layers using a ruler and calculate their percentage.
| Soil Type | Characteristics | Improvement Suggestions |
|---|---|---|
| Loamy Soil | Balanced soil, most fertile | Add organic manure |
| Sandy Soil | Drains water quickly | Add organic manure, cow dung, and mulch |
| Clay Soil | Retains excessive water | Add sand, organic mulch, and manure |
| Silty Soil | Hardens quickly | Add organic manure and mulch |
Conclusion: The Jar Soil Test is a simple and effective way to understand soil composition. Regardless of soil type, adding organic manure, mulch, and green manure can significantly improve soil fertility.
SHARE :


Become a Delegate
Attend GARCX Conference as a delegate to gain expert insights, connect with global professionals, and explore cutting-edge solutions in agriculture and animal health.

Become a Speaker
Join global thought leaders at GARCX Conference to share your research and insights. Present your work on integrated agriculture and animal health before an international audience.

Become a Sponsor
Showcase your brand as a pioneer in One Health innovation. Sponsoring GARCX offers high-visibility branding and strategic exposure to industry leaders and researchers.

Publish with Us
Submit your scientific work to be featured in esteemed ARCC Journals. Gain credibility and reach in the global agricultural and veterinary research community.

Become an Exhibitor
Display your solutions, products, or innovations in agriculture and animal health at the GARCX Expo. Network with stakeholders and boost your industry presence.